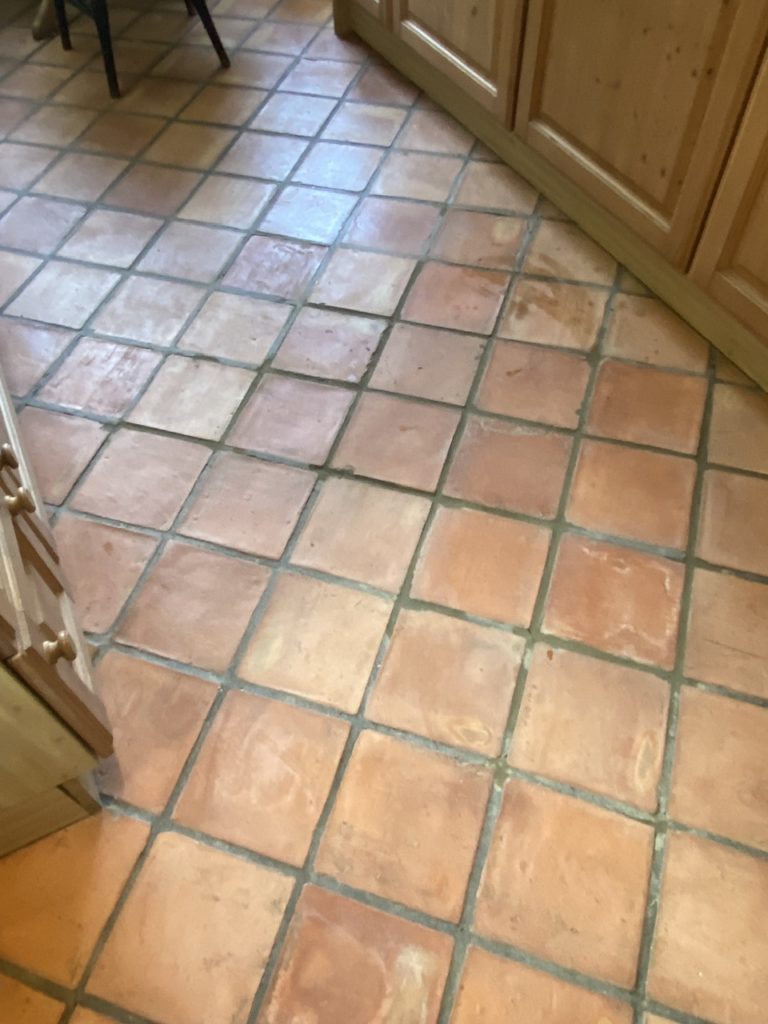
Very dirty Terracotta tiles on kitchen floor deep cleaned N20 Totteridge London
This very grubby kitchen terracotta tiled floor was recently cleaned by me in North London. You can see by the pic that there is years of built up grime in the porous terracotta. To restore these tiles we needed to deep clean them with a very strong stripping detergent plus a strong solvent to melt all the old waxes and oils that had been applied to the terracotta over the decades.

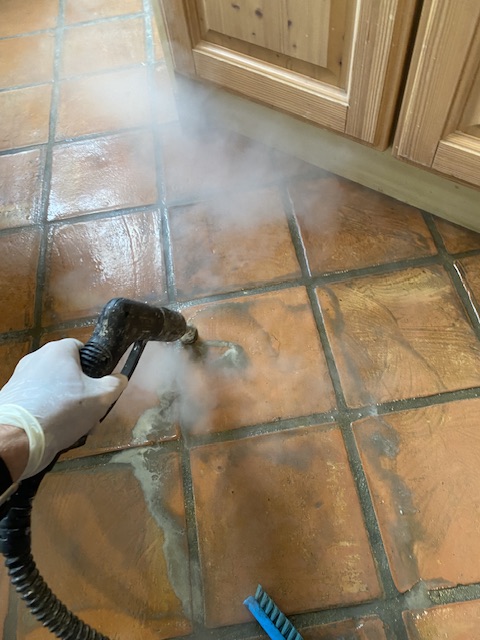
Below in the pic you can see me steam cleaning the tiles that aids the detergent to melt and release the deeply ingrained dirt and waxy build up. Its very satisfying to see it come out in a thick black sludge!
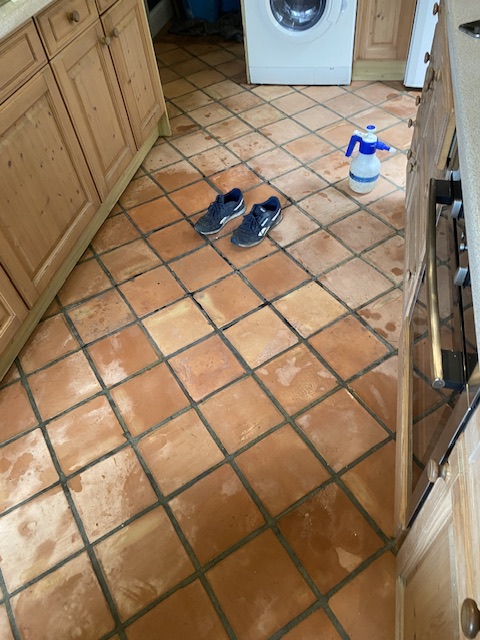
Once thoroughly cleaned the tiles look flat , dull and porous. This is the nature of terracotta and we need to put clean waxes, oils and tile sealers back into the tiles to keep them preserved going forward. If we dont finish terracotta properly it will get ruined!
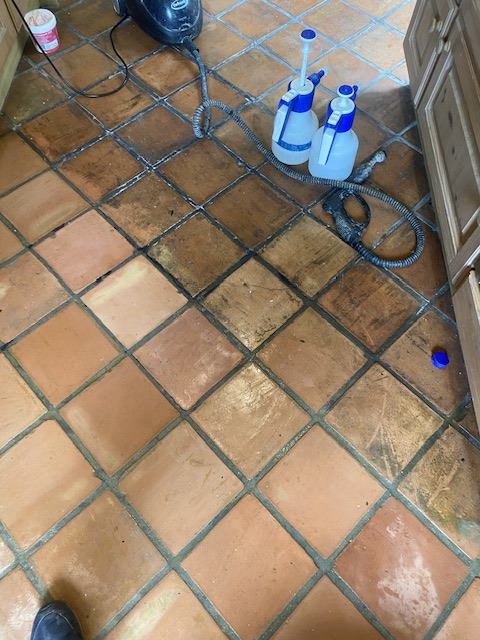
The terracotta tiles are completely stripped and clean in the pic below. They are still very damp and need to dry properly for waxing the next day.
Pointing and grout repairs to terracotta
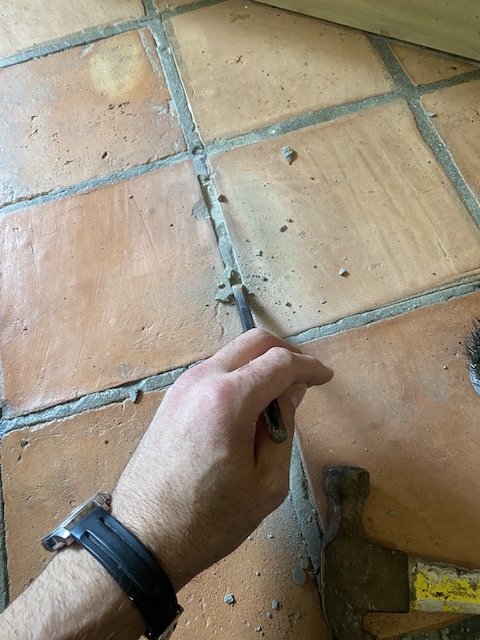
These tiles required some repairs to the grout lines. Terracotta usually has quite thick lines that often was grouted witha sand and cement mix. This can be quite hard to remove and its nots the most flexible grout option so it can crack and crumble when there is slight movement in the tiles etc
Below you can see the finished result. Its not the most dramatic but its thoroughly clean and preserved. The client wanted a modest bees wax finish for ease of maintenance and permeability.
 Different methods to finish seal and wax terracotta tiles
- Standard impregnating tile sealer – this is a standard form of impregnating sealer that goes into the tiles and protects them from within. There are different sealers designed for different porous materials and they can be used to enhance the color. While very good tile sealers are not enough to fully protect terracotta.
- Hard wax- there are different types of hard wax such as carnuba wax, bees wax, petroleum based wax etc. These are very good to apply after the terracotta has been sealed with impregnating tile sealer. Natural bees wax and carnuba wax are permeable and allow salts and vapor rise above the wax. Floor that breath are much better off and these hard waxes will add extra protection to your terracotta. They are also pretty easy to maintain so ideal for the DIY enthusiast.
- Acrylic tile wax- this is a modern combination of plastics and wax to create a coating that sits on top of the tiles. It comes in a liquid and dries hard so we can layer this type of wax to create an attractive shine. Most of the shiny antique quarry, terracotta, Victorian tiles have been finished with this type of wax. The downside is that its moisture barrier and gets white patches if any moisture is coming up through the floor. Its also layered so a patch repair doesn’t work. If it gets a blemish the whole lot needs to be stripped and reapplied.